How to Apply Concealer Without It Looking Cakey Over Blemishes
Cakey concealer is almost always a placement and quantity problem, not a product problem — applying it as a broad layer across the whole under-eye or cheek area instead of a small, targeted amount exactly where it's needed, then patting rather than rubbing it in. The same product applied correctly in a thin, targeted layer and applied as a thick, wide one can look completely different by the end of the day.
Where concealer actually goes
Under the eyes, it works best as a triangle shape pointing down toward the cheek — not just a half-moon directly under the lash line — because that triangle is what actually catches shadow and needs brightening. For blemishes, a small dot directly on the spot, not a wider circle around it, keeps the correction targeted instead of drawing attention to a larger area of the face.
Center-face brightening (down the nose, center of the forehead, chin) is a separate, optional use of concealer from spot-correcting — a lighter-shade concealer there for a lit-from-within effect works best applied even more sparingly than under-eye or blemish concealer, since too much reads as an obvious highlight patch rather than natural brightness.
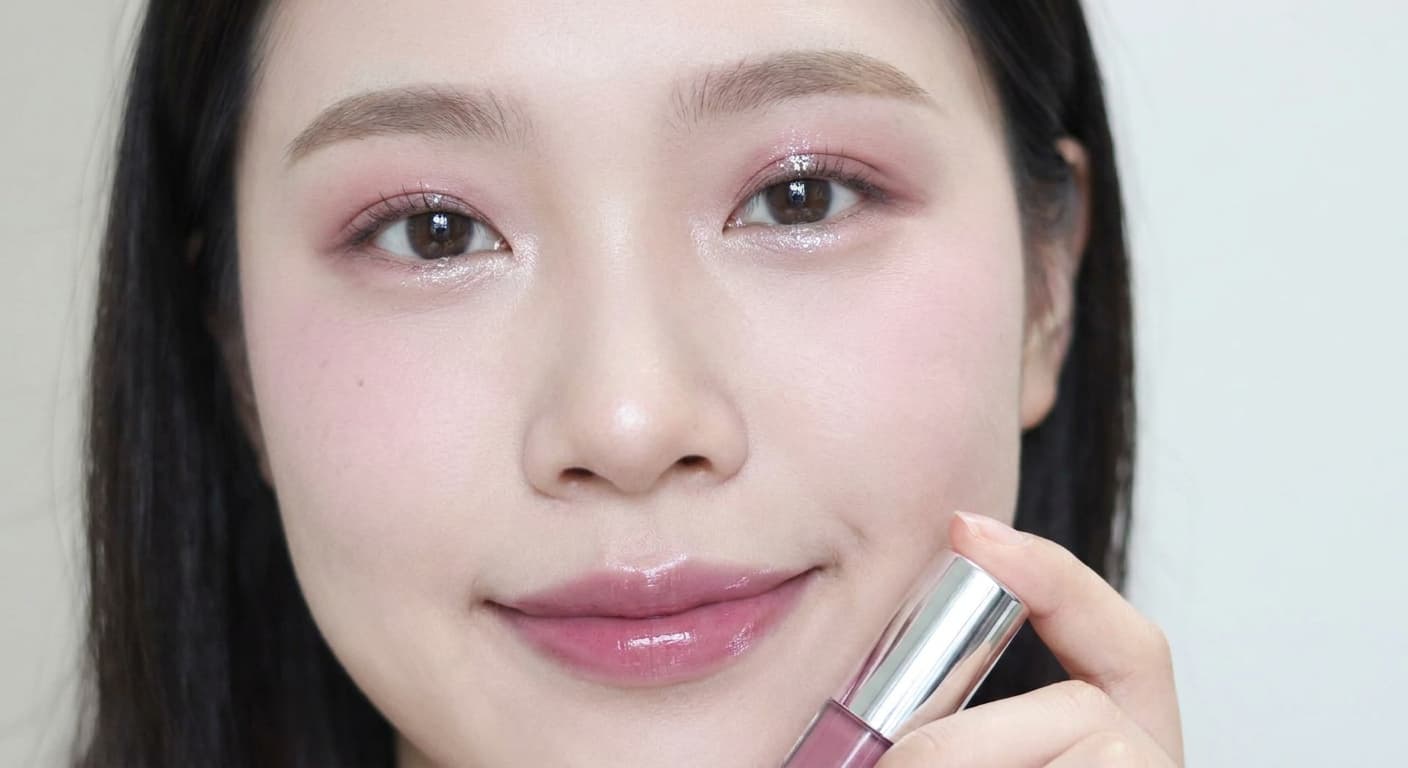
Covering a blemish without making it more visible
Pat concealer on with a finger or small brush rather than rubbing or dragging it — rubbing shifts product to the edges of the blemish rather than keeping it concentrated on top, and can irritate an already-inflamed spot. Building up in thin layers, letting each one set before adding more, covers more effectively than one thick layer and looks less obviously "covered" once it's set.
If a blemish is red and inflamed, a green color-correcting concealer underneath a skin-toned one neutralizes the redness before it needs to be fully opaque-covered — this generally uses less product overall than trying to cancel redness with skin-toned concealer alone.
How to check your own coverage before committing
How concealer sits depends a lot on your own skin texture — someone with visible texture or larger pores needs a different amount and blending approach than smoother skin to avoid product sitting in texture rather than on top of it. Pick a look from the library, or upload a reference photo, and see how the finished makeup — including the coverage — actually renders on your own photo.
Every result comes with a step-by-step tutorial and the product categories used. First three tries are free, no signup required.
Looks mentioned in this article
See it on your own photo — free, no signup required.
Try AI Makeup On Your PhotoFAQ
Why does my concealer look cakey by the end of the day?
Usually too much product applied as a wide layer rather than a small targeted amount, or skin underneath that wasn't hydrated enough before application — concealer settling into dry patches or fine lines over several hours reads as cakey even if it looked fine when first applied.
Should concealer be patted or rubbed in?
Patted — rubbing or dragging shifts product away from where it's needed and can look streaky, while patting with a finger or small brush keeps coverage concentrated and blends the edges without moving the bulk of the product.
Does color-correcting concealer really help with blemishes?
Yes, for red or inflamed spots specifically — a green corrector neutralizes redness first, which usually means needing less skin-toned concealer on top to fully cover it than trying to cancel the redness with coverage alone.